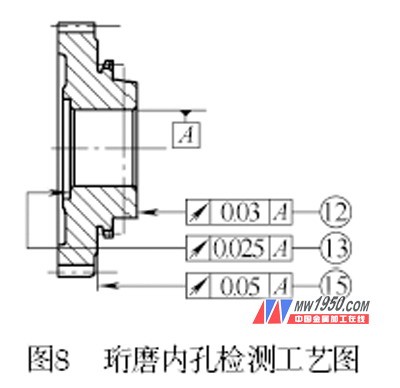
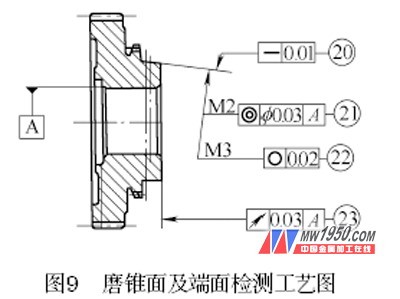
9OP170 bump and rework inspection, comprehensive measurement items such as radial comprehensive error, maximum center distance variation, average dispersion, and maximum ring runout of adjacent ring gear. The detection method and parameters are the same as the quality control of OP30 hobbing process. The equipment is a gear double-faced instrument; the gear accuracy inspection method and parameters are compared with the quality control of the OP70 shaving process, and the measurement is performed on the M&M gear measurement center. Previous page 

2. Development of instrumentation gear Conclusion <br> <br> created favorable conditions for controlling quality of a gear, gear testing equipment with advanced processing technology and advanced gear, the gear machining of good quality sub Control, sub-item quality control can more intuitively reflect the theoretical design, machine tool and tool adjustment, sub-item quality control can get better overall gear quality. Gear machining from the above three aspects of continuous efforts to improve quality, coupled with the continuous improvement of China's gear materials, China's car gear quality will reach the international advanced level.