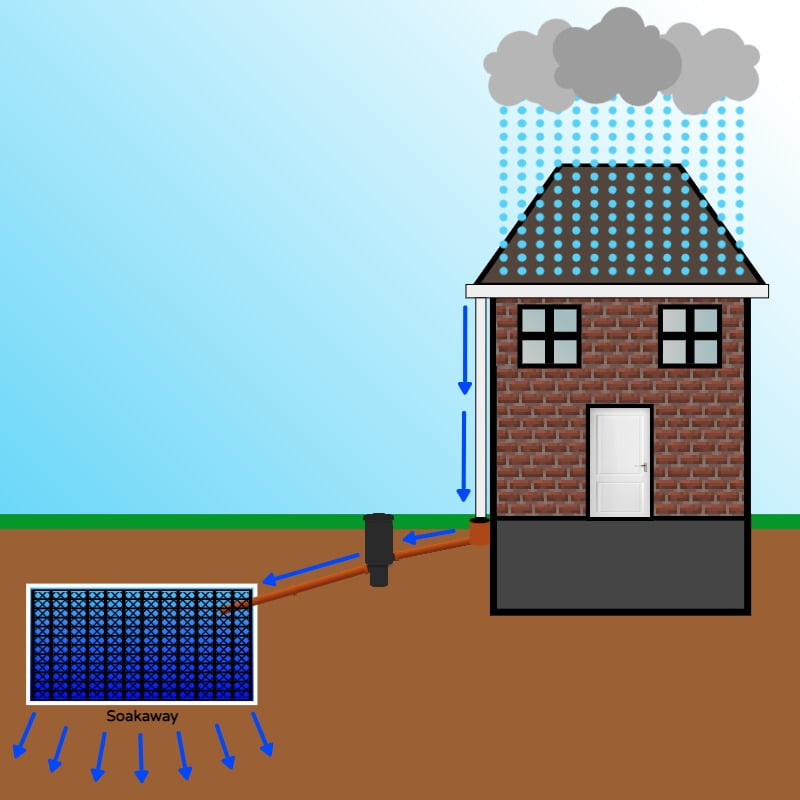
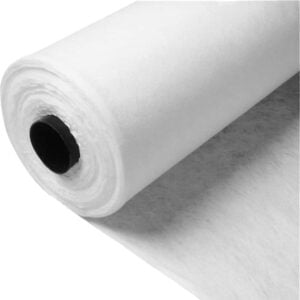
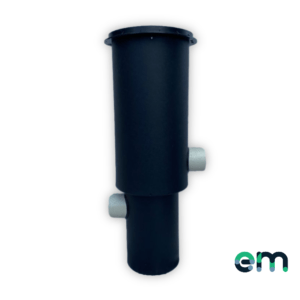
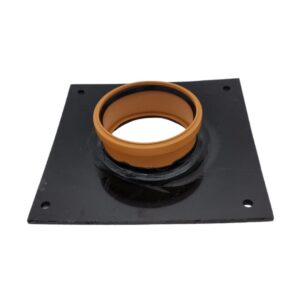
A soakaway drain primarily serves to eliminate standing rainwater. Typically, this involves creating a large hole or pit where water from roof gutters or channels flows in. The water then seeps into the soil, reducing the risk of flooding and enhancing the stability of the ground while keeping it free of standing water. Today, soakaway crates are widely regarded as the superior choice for constructing soakaways. In the past, traditional methods relied on filling the hole with rubble, which was less efficient since water could only occupy the tiny gaps between rocks, quickly getting clogged with debris. Modern soakaway crates, however, boast a high void ratio—often around 95%—allowing them to store significantly more water while remaining efficient and long-lasting. For a visual representation of how these crates function, check out our infographic below. Here’s an illustration of a typical soakaway setup using crates: Before designing your soakaway system, it's essential to conduct a percolation test. Not all types of soil are suitable for soakaways; for example, heavy clay soils or areas with a high water table may hinder proper drainage. You can either hire a professional to perform this test or follow our detailed guide to do it yourself. Installing a soakaway on unsuitable ground can lead to wasted effort and resources if the soil lacks the necessary porosity. Therefore, this step is indispensable. To estimate the size of a soakaway you'll need, calculate based on the roof pitch and roof area. More details about this calculation can be found below the products section on our soakaway crates page. This will help you determine the volume of water you need to manage effectively. Before starting excavation, ensure you avoid hitting any underground utilities like pipes or cables. Accidentally damaging these could pose serious safety risks and result in costly repairs. Soakaway systems should be installed at least 5 meters away from properties, roads, or boundary walls. If the ground slopes steeply, the distance may need to be greater. Additionally, if the soakaway is part of a new construction project or extension, it must be included in the building plans. Start by marking the excavation area with spray paint or another visible marker. Also, mark the location of the trench for the inlet pipe. After marking, carefully dig the area, leaving enough space for a 150mm base layer and 10mm pea shingle for sides and backfill. If the soakaway will be in high-traffic zones or areas requiring higher load capacity, it should be installed at a deeper level to accommodate additional top cover. While digging, remove any rocks, roots, or debris to ensure a level base and protect the crates from damage. The crates must be completely wrapped in a non-woven geotextile membrane, such as our Lotrak 100 product. This prevents silt and debris from entering the system and clogging it up. After excavating, lay the pea shingle base, then place the geotextile in the hole. Position the crates over the geotextile and wrap the membrane around the crates and the inlet pipe. Secure the geotextile with tape to prevent it from coming loose. Proper wrapping ensures the crates remain functional throughout their lifespan. As mentioned earlier, one of the primary concerns when installing a soakaway is avoiding blockages caused by debris and silt. Adding a silt trap before the water enters the system can help address this issue. The silt trap collects incoming water and allows heavier particles to settle at the bottom, allowing only clean water to flow into the soakaway. The trap has a removable lid, enabling periodic cleaning of the internal silt bucket. This helps maintain the system’s efficiency and extends its lifespan. Installing the inlet drainage pipe is straightforward. Simply lay it over the top of the soakaway tank and ensure it is well wrapped in geotextile membrane. Some crates come with pre-marked cutouts that can be removed using a hole saw or simply pushed out. If entering the pipe from the side, mark the geotextile to easily locate the opening during installation. Ensure all entry points face inward if working with multiple crates. In some cases, the inlet pipe can be pushed directly against the side of the crate, provided it is adequately wrapped in geotextile. Once the system is in place, the inlet pipe is installed, and everything is wrapped in geotextile, proceed to add side and backfill material, typically 10mm or 20mm pea shingle. This stabilizes the crates while allowing water to drain out of the soakaway. Cover the sides, back, and top with 150mm of pea shingle, then add the topsoil—usually a minimum of 400mm. For areas with heavy traffic, you may need to add more topsoil to increase the system's strength and load-bearing capacity. Want to see us install some crates? Check out our video! The choice of system depends on the intended application. For residential settings, geocell crates are the most popular due to their cost-effectiveness. They are available in kits perfect for garden drainage or smaller projects. For installations under roads or parking areas, consider crates with higher load resistance, such as the Brett Martin Stormcrate 55’s. If you already know the required size of the soakaway or the volume of water to be stored, contact us, and our team will assist in selecting the right crates and quantities. We stock a wide range of these products, and our knowledgeable staff is always ready to help. Author Bio Nathan has been in the drainage and plastics industry for over 12 years. Having worked for both builders' merchants and major manufacturers, Nathan has accumulated extensive industry and product knowledge. At EasyMerchant, Nathan is dedicated to simplifying the lives of tradespeople.  Terram T1000 Non Woven Geotextile Membrane – Custom Size Soakaway Crate Kits Polystorm – Includes Geotextile and Tape! Waterproof Tape for Geotextile Membrane 50m X 50mm Polypipe Polystorm Soakaway Crate / Attenuation Cell – PSM1A Hydrocell Soakaway Crate 62 Ton Silt Trap 320mm Including Bucket and Lid PVC Flange Adapter for Attenuation TanksWhat is a soakaway drain?
Considering a soakaway drain? You need to do this first:
A percolation test.
A roof pitch calculation.

Check for buried pipes, cables or other dangers.
Planning permission and regulations.
Preparing for installation.
Installation Considerations
Ensure crates are fully wrapped in non-woven geotextile membrane.
Install a silt trap.
Side and back fill.
Installation video:
Which systems do you recommend?
Nathan Wilde
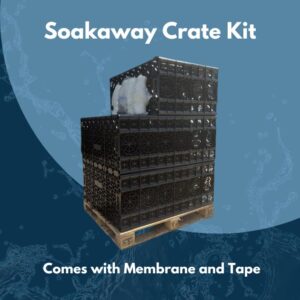
Shop Soakaway Crates
Sale!
(82)
From £15.54 Excl. VAT
Select options
(28)
From £228.03 Excl. VAT
Select options
(8)
£5.60 Excl. VAT
Add to basket
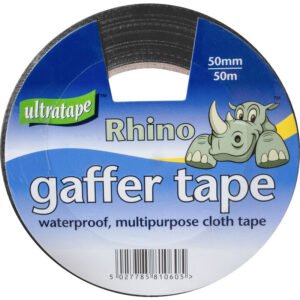
(7)
£35.83 Excl. VAT
Add to basket
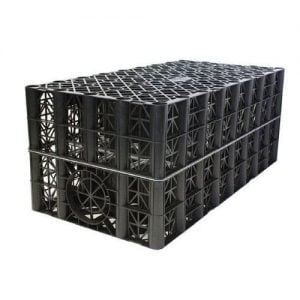
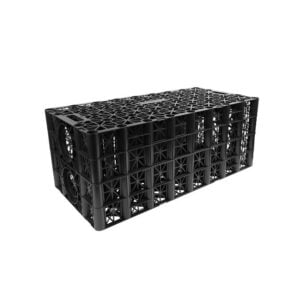
(1)
£31.67 Excl. VAT
Add to basket
Out of stock
(1)
£281.77 Excl. VAT
Read more
Out of stock